Painting Contractors: This Zapier Automation Shares Each of Your Blog Posts to All of Your Social Media Networks
Imagine hitting the “Publish” button on a fresh blog post you just spent hours writing…
… then seconds later it’s automatically posted to all of your social media channels.
If you want to get maximum value out of your blog posts, but you don’t have time to post to each social media channel, use Zapier instead!
In this 6-step automation, I’ll walk you through, step-by-step, how to automate your blog content sharing system.
To be more specific, when you publish a blog post, Zapier will automatically:
- Create and publish a post on your Facebook Business Page
- Create and publish a post on your LinkedIn Business Page
- Create and publish a post on your Pinterest Account
- Create and publish a post on your Twitter Account
- Create a draft Campaign in your MailChimp Account
If at any time throughout this walkthrough you’re like:

Instead, I can put it together for you, just book a call with me here!
Before I begin, for those who aren’t too familiar with Zapier or want to check out some other automations we recommend, click here.
Here’s what you’ll need to create this automation:
- Zapier “Starter” Account -this gives us the ability to create a multi-step zap among many other things

2. a Trigger Application – for this example I’m using WordPress because it’s the only Content Management System (CMS) I’ve found that is most beneficial for a number of reasons:
- Cost-effective
- User-friendly
- Over 50,000 plugins
- WordPress sites rank higher in SEO
- Mobile responsive
Here is a more in-depth article which explains each of these benefits among many others.
If you’re not using WordPress, click here to search for the CMS your using to find out if it integrates with Zapier.
3. Yoast SEO Plugin -this will be important for creating the description of your posts. If you don’t already have this plugin download it here.
4. Lastly, even if you’re not utilizing all of these social media channels, still set up the accounts to hook up to the zap at the very least, just so you can get your content out there -you never know who might find you!
Once you have all of this together, we’re ready to start!
Step 1: How to Setup the Zap Using WordPress
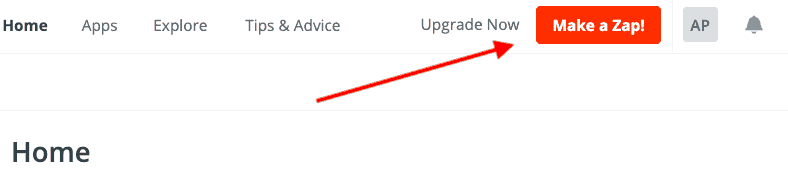
1. Login to Zapier
2. In the top right-hand corner click Make a Zap
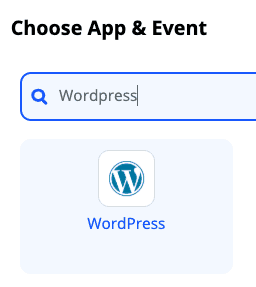
3. Under Choose App Event type in WordPress and select it
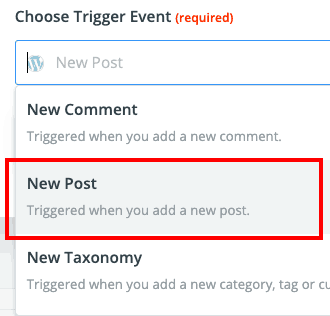
4. Under Choose Trigger Event select New Post
5. Continue
6. Select Sign in to WordPress

7. a new browser window will open that looks like this:
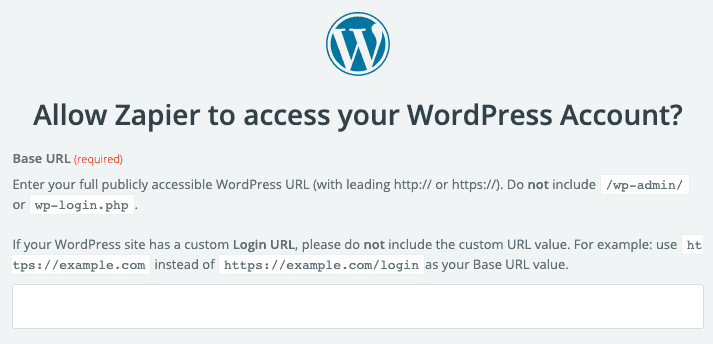
8. In the first box, type in your URL in this format:
https://yourdomain.com
Here’s an example:
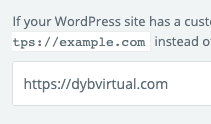
9. Then type in your Username & Password
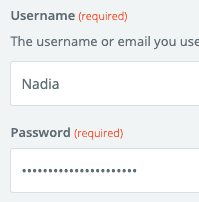
10. Click Yes, Continue

If successful, it should automatically take you back to the original Zapier browser tab.
11. Click Continue
12. Select the drop-down menu under Post Status and select Published
13. Under Post Type select Posts
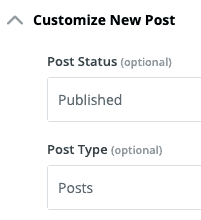
13. Select Continue
14. Choose a Test sample -if you don’t see one, select Pull in my Samples
14. Select Test & Continue
Step 2: Posting to Facebook Business Page
15. In the search box, type in and select Facebook Pages
16. Select the drop-down menu and choose Create Page Photo
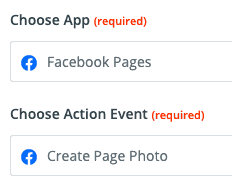
17. Continue
18. Select Sign in to Facebook Pages

19. Login to the Facebook Account that has access to the page or is an Admin
20. Continue
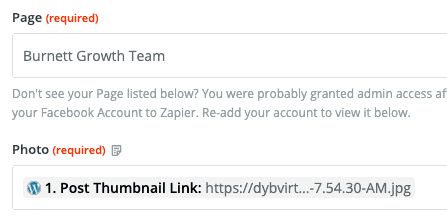
21. Select the drop-down menu under Page
22. Select the Page you want to post to
23. Select the menu button to the right of the Photo field
24. Type in Post Thumbnail Link and select it
25. Under Description select the menu button and search for and select these elements:
[Custom field Yoast Wpseo Metadesc][space bar][Read the blog post here:][space bar][Link:]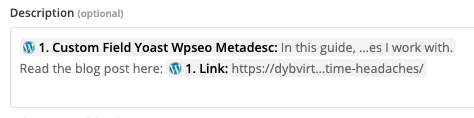
26. Continue
27. Select Test & Review
28. Go to your Facebook Page and confirm that the test post looks how you want it to (delete the test post if you want to.)
Step 3: Posting to LinkedIn Business Page
29. Select the blue plus button

30. Type in LinkedIn and select it
31. Select the drop-down menu under Choose Action Event and select Create Company Update
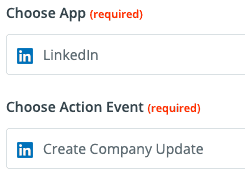
31. Continue
32. Select Sign in to LinkedIn

33. You’ll be taken to new browser tab where you can sign in
34. Once you do the captcha security check, select Allow
35. Continue
36. Select the drop-down under Company Page
37. Select your Company Page -if you don’t see any listed, it’s probably because you only have a personal account.
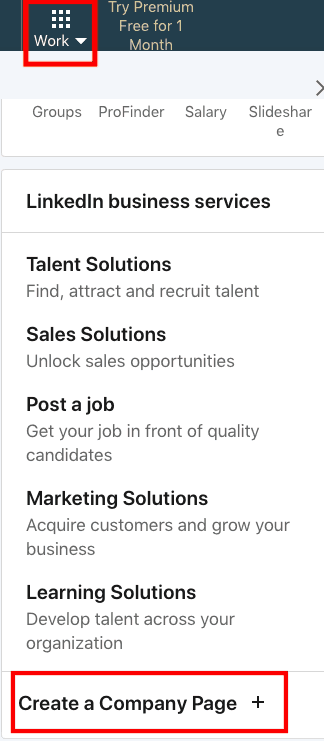
38. To create a Business Page, login to your LinkedIn account
39. In the top right corner select Work
40. Scroll down and select Create Company Page +
41. Select your Business Size
42. Fill out the necessary information for the page
43. Select Create Page
44. Go back to the Zapier Browser tab
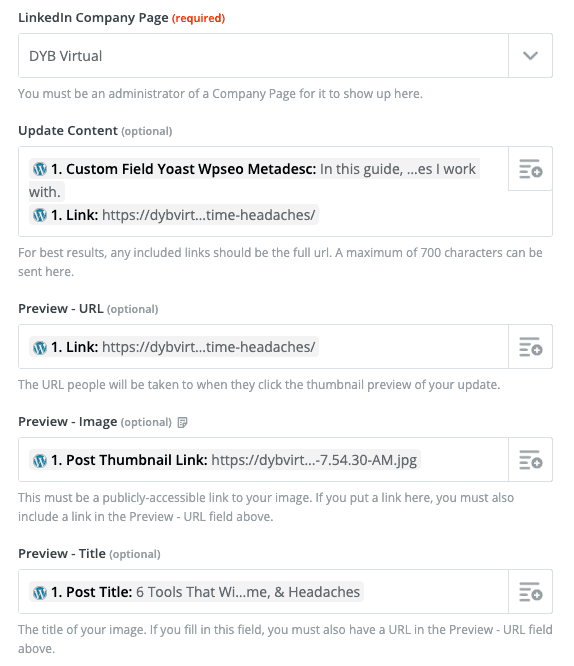
45. Under LinkedIn Company Page select Check LinkedIn & Reload to Bring in New Choices

46. Select the new page you created
47. Select the menu button to the right of Update Content
48. In the search box, search for and select these elements:
[Custom field Yoast Wpseo Metadesc][space bar][Read here:][space bar][Link]49. Select the menu button to the right of Preview – URL then search for Link and select it
50. Select the menu button to the right of Preview – Image then search for Post Thumbnail Link and select it
51. Select the menu button to the right of Preview – Title then search for Post Title and select it
52. Optionally add a description for your image
53. Continue
54. Run a test and check your LinkedIn page to see if it went through
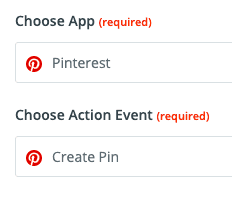
Step 4: Posting to Pinterest
55. Select the blue plus button
56. Type in and Select Pinterest
57. Select the drop-down menu under Choose Action Event and select Create Pin
58. Continue
59. Select Sign in to Pinterest
60. Sign into your Pinterest account and select Okay
61. Continue
62. Select the drop-down menu under Board
63. Select the Board you want all of your posts added to
64. Select the menu button to the right of Image and type in Post Thumbnail Link
65. Under Note Search for Custom Field Yoast Wpseo Metadesc then select it
66. Under Link search for Link then select it
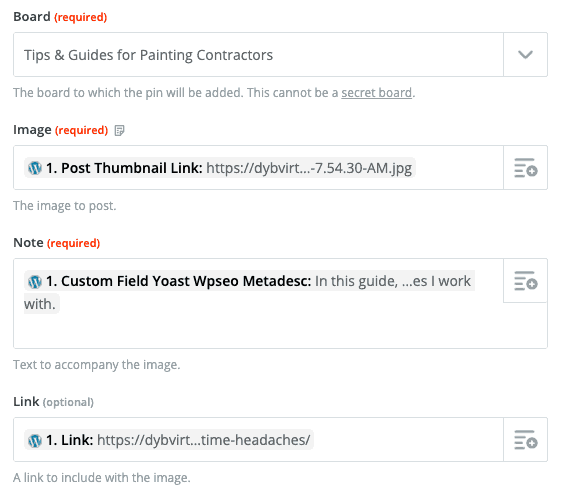
67. Continue
68. Run a test and check your Pinterest board to verify it looks okay
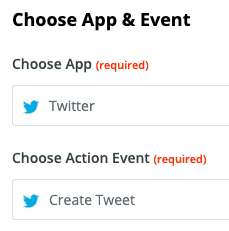
Step 4: Posting to Twitter
69. Select the blue plus button
70. Search for and select Twitter
71. Select the drop-down menu under Choose Action Event and select Create Tweet
72. Continue
73. Select Sign in to Twitter
74. Select Yes, Continue
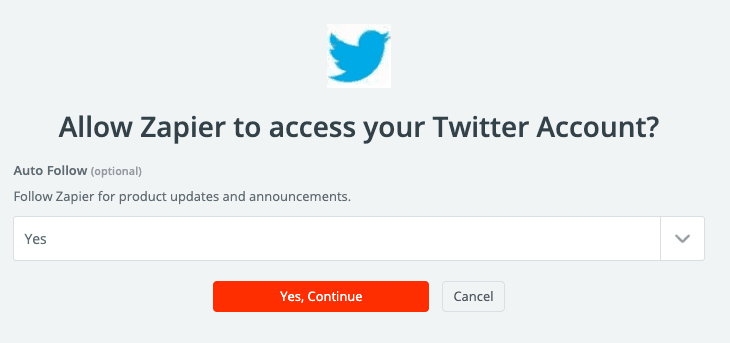
75. Select Authorize App
76. You should be automatically taken back to the Zapier browser tab
77. Continue
78. Select the menu button under Message
79. Search for Custom Field Yoast Wpseo Metadesc and select it
80. Click the space bar once
81. Select the menu again and Search for Link then select it
82. Under Image select the menu button and search for Post Thumbnail Link then select it
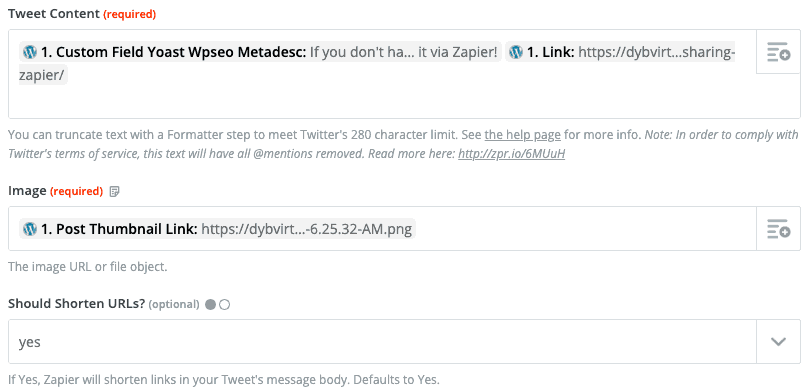
83. Continue
84. Run a test then go to your Twitter account and make sure the tweet looks good!
Step 5: Creating a Draft Campaign in MailChimp
85. Click the blue plus button
86. Search for MailChimp and select it
87. Select the drop-down menu under Choose Action Event and select Create Campaign
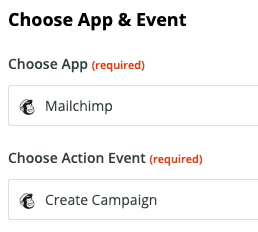
88. Continue
89. Sign in to MailChimp
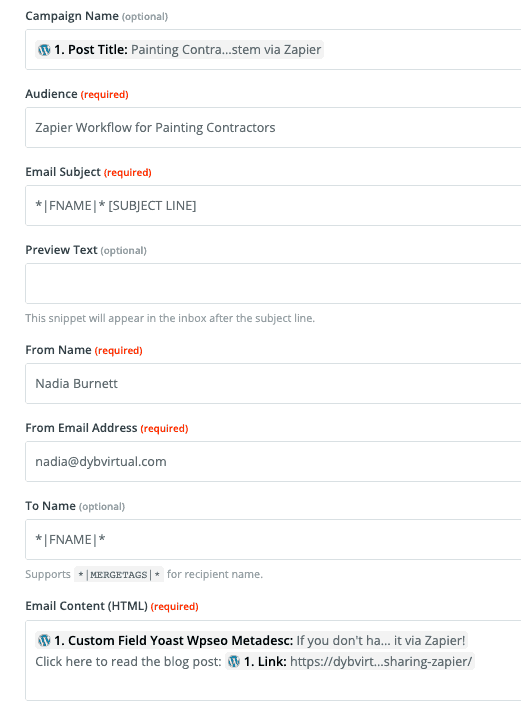
90. Select the menu button under Campaign Name and search for Post Title then select it
91. Select the Audience you want the draft campaign to be created under
92. Under Email Subject, you can create the subject line, for example:
*|FNAME|*, [Post Title]
you can use a merge field like *|FNAME|* to insert their first name in the subject line.
93. You also have the option to add preview text
94. Under From Name write out your first and last name
95. Under From Email Address write out your email address
96. Under To Name write out *|FNAME|* (this will pull in each subscriber’s first name)
97. Under Email Content Search for a select Custom Field Yoast Wpseo Metadesc
98. Hit the enter button on your keyboard to start a new line in the text box
99. Write out “Click here to read the blog post:”
100. Hit the space bar
101. Search for a select Link
102. Continue
103. Send a test campaign to your MailChimp account and make sure everything came through correctly!
Lastly, turn your zap ON!

so there you have it…
No every time you publish a blog post on your WordPress website, it will automatically be posted to each of your social media accounts and a draft campaign will be created in MailChimp!
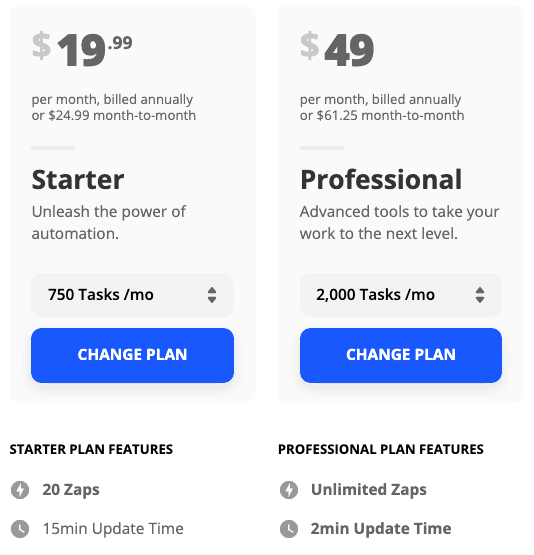
NOTE: If 15 minutes is too long of a wait, you can upgrade the Zapier account plan to “Professional” which will run the zap within 2 Minutes instead of 15.
I hope this walkthrough helps you get more things off your plate!
Again, if you’re ready to pull your hair out by now… I can set it up for you if you shoot me an email at Nadia@DYBVirtual.com
If you’re interested in checking out how else you can save hours of time each week by utilizing zapier automations specifically for painting contractors, click here to learn more or book a free Zapier consultation with Nadia below.